Fixing Chalking and Fading in Exterior Coatings
Coating chalking and fading reduce protection and aesthetics. Fixing these issues requires removing loose material, assessing substrate damage, and applying compatible primers or topcoats. Proper surface prep and environmental controls prevent recurrence.
- Coating chalking is a sign of surface degradation, not just a cosmetic issue.
- Effective repair depends on removing loose material and preparing the substrate before recoating.
- Fading repair requires selecting a primer and topcoat system with appropriate UV resistance.
- Preventive maintenance through inspection schedules and environmental protection extends service life.
- Compatibility between existing coatings and new products prevents adhesion failure.
Understanding Chalking and Fading Symptoms
Coating chalking appears as a white or grayish powder on painted surfaces. Rubbing the area with a finger or cloth reveals a dusty residue. This happens when the binder in the paint fails at the surface level, leaving pigment and filler behind. The powder washes away in rain or wind, exposing bare metal or substrate underneath.
Fading is color loss due to ultraviolet light. The pigment molecules break down, or the binder yellows and becomes brittle. Some pigments resist UV exposure better than others. Dark colors often show fading more visibly because the top layer degrades faster than the underlying layers.
These two problems often occur together. Chalked areas lose their protective film, allowing water and oxygen to reach the metal. Faded areas may still have a binder, but the film is weakened. If both symptoms appear on the same asset, the coating system is failing.
Common symptoms include:
- White or gray dust that wipes off the surface.
- Color difference between shaded and sun exposed areas.
- Gloss loss, where shiny surfaces become matte.
- Cracking or flaking near welds, bolt heads, and edges.
- Increased rust spots after rain events.
Likely Causes of Coating Failure
Coating chalking usually stems from environmental exposure. UV radiation degrades the binder, especially in acrylic, alkyd, and some epoxy systems. Heat cycling weakens the film, causing micro cracks. These cracks let moisture in, accelerating the breakdown.
Poor application is another factor. Too much paint can trap solvents. Too little leaves an uneven film. Both create weak spots where chalking begins. Surface contamination from oil, dust, or salt also prevents proper adhesion. If the substrate was not cleaned before the last coating application, the new layer will fail at the boundary.
Substrate condition matters. If the metal was painted over rust or mill scale, the coating will not hold. Chalking often starts at these weak points. In industrial environments, chemical exposure from cleaning agents, process fluids, or atmospheric pollutants can attack the coating.
Troubleshooting Chalking and Fading
Use the table below to match symptoms to causes and actions. This helps maintenance teams prioritize work.
| Symptom | Likely cause | What to do |
| Coating chalking | UV degradation of binder or poor surface prep | Remove chalked material, sandblast or abrasive blast, apply compatible primer |
| Fading | UV exposure of pigment or old paint system | Assess substrate, apply UV resistant topcoat over primer |
| Chalking and rust spots | Moisture ingress through cracked film | Remove rust, treat with inhibitor, recoat with full system |
| Gloss loss | Oxidation or chemical attack | Clean surface, apply clear or colored topcoat for protection |
| Flaking near edges | Poor wetting or substrate contamination | Sandblast edges, apply primer with adhesion promoter |
When symptoms are mixed, start with the most aggressive repair. If rust is present, do not apply new paint over it. Remove the rust first. If the metal is sound but the coating is chalked, remove the loose material and prepare the surface.
Step by Step Repair Process
The repair process follows a clear sequence. Each step depends on the previous one. Skipping a step leads to premature failure.
- Inspect the area. Identify the extent of chalking and fading. Mark boundaries with chalk or tape.
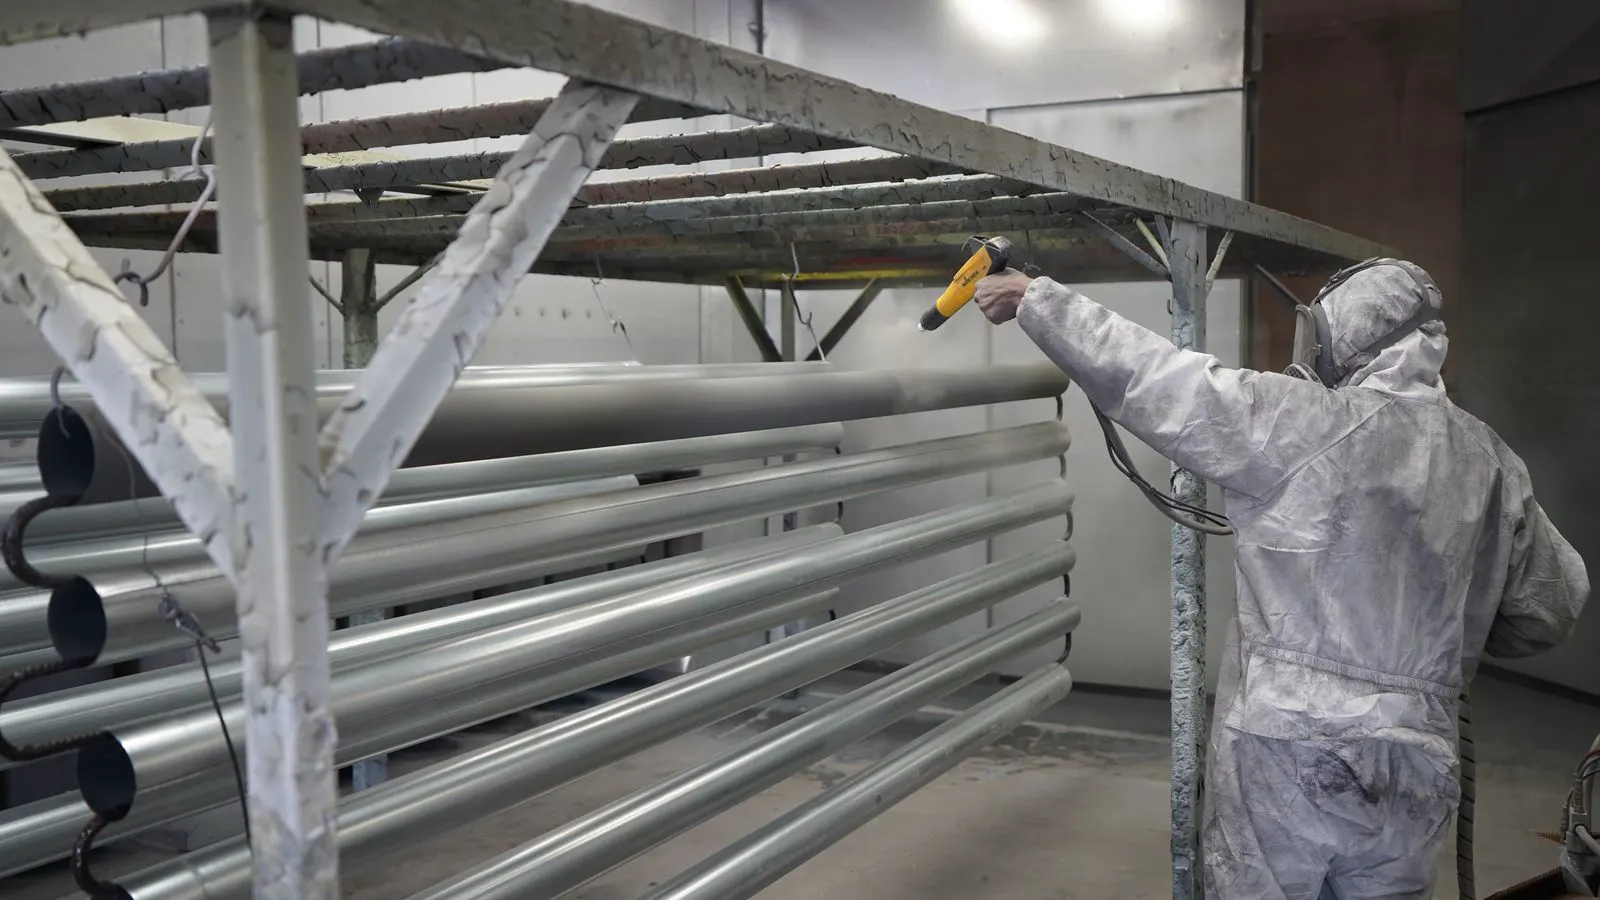
- Remove loose material. Use a stiff brush, low pressure abrasive, or sanding machine. Do not use high pressure water on chalked areas, as it can drive water into the substrate.
- Prepare the surface. Abrasive blast to near white metal or Sa 2.5 standard if the substrate is critical. For less critical areas, power tool prep to Sa 2.5 or Sa 3 equivalent may suffice.
- Clean the surface. Remove dust, oil, and contaminants. Use a solvent wipe after blasting.
- Apply primer. Select a primer compatible with the topcoat system. Zinc rich primers protect against rust. Epoxy primers provide adhesion.
- Apply topcoat. Use a UV resistant topcoat. Match the color if aesthetics matter. Apply in the manufacturer specified thickness.
- Cure and inspect. Allow proper cure time before returning the asset to service.
Selecting the Right Coating System
The choice of coating system depends on the asset type, environment, and expected service life. Industrial assets in marine or chemical environments need more protection than indoor structures.
For metal structures, two or three coats of epoxy or polyurethane are common. Polyurethane topcoats resist UV better than epoxy. Epoxy primers bond well to metal. Zinc rich primers offer cathodic protection.
For concrete or masonry, penetrating or film forming coatings differ in approach. Film forming coatings need adhesion promoters. Penetrating coatings protect from within but do not provide a visual barrier.
When repairing an existing coating, check compatibility. Applying an incompatible system can cause blistering or peeling. If the existing coating is unknown, take a sample to a coating supplier for analysis. Do not guess based on appearance.
Prevention Tips for Long Lasting Performance
Prevention saves time and cost. Regular inspection catches problems before they spread. Schedule inspections based on the environment. Coastal assets need more frequent checks than inland assets.
Control environmental exposure. Shading structures reduces UV load. Drainage prevents water pooling. Ventilation in enclosed spaces reduces condensation.
Maintain surface cleanliness. Remove dirt, salt, and chemical deposits before they attack the coating. Use mild cleaners for routine maintenance. Avoid abrasive scrubbing that damages the topcoat.
Document maintenance. Record what was done, when, and by whom. This helps track performance and identify recurring issues. If a section fails repeatedly, investigate the root cause. It may be a design issue, a process problem, or a coating selection error.
When to Replace the Whole System
Sometimes repair is not worth it. If the substrate is heavily corroded, if the existing coating is incompatible with new products, or if the asset is under severe environmental stress, full replacement may be better.
Full replacement involves removing all old coating. This is expensive but necessary when the substrate is damaged. In some cases, only specific zones need replacement. Plan the work in sections to maintain operations.
Consider the asset life. If the asset will be in service for another decade, invest in a robust coating system. If it will be replaced in a few years, a simpler repair may be sufficient. Balance cost against expected service life.
Common Mistakes to Avoid
Maintenance teams make several recurring errors. The most common is applying new paint over chalked or rusted surfaces. This traps moisture and contaminants. The new coating fails quickly.
Another mistake is using incompatible products. Epoxy over alkyd can cause adhesion issues. Alkyd over epoxy can cause blistering. Always check compatibility charts.
Skipping surface preparation is another error. Even a thin layer of dust can prevent proper adhesion. Surface prep is not optional. It is the foundation of the coating system.
Ignoring environmental factors leads to repeated failures. If an asset is in a salt air environment, standard coatings may not last. Specify marine grade products. If the asset is near chemical plants, use corrosion resistant coatings.
Finally, do not assume one coat is enough. Most coating systems require multiple coats. Apply each coat within the specified time window. Allow proper drying between coats. Rushing this step causes defects.
Quality Control and Documentation
Quality control is part of the repair process. Check film thickness after each coat. Use a calibrated gauge. Record the measurements. Check for holidays, pinholes, or runs. Repair defects before curing.
Document the work. Take photos before, during, and after. Record the coating products used, batch numbers, and application parameters. Store these records with the asset maintenance file.
This documentation helps in future repairs. It shows what was done and when. It also supports warranty claims if the coating fails prematurely.
Cost Considerations
Repair costs vary by scope. A small area of chalking may require a few hours of labor and a small amount of material. A large area with rust may require blasting, priming, and multiple topcoat applications.
The cost of prevention is lower than the cost of failure. A failed coating leads to substrate damage, which is more expensive to repair. It may also cause downtime.
When budgeting, include surface preparation, materials, labor, and downtime. Do not estimate based on material cost alone. Labor and prep often make up the larger share.
For industrial assets, factor in the production schedule. Plan repairs during low usage periods. Coordinate with operations to minimize disruption.
Final Thoughts
Coating chalking and fading are manageable problems. They signal that the coating system is degrading. Addressing them early prevents larger damage. Use the troubleshooting table to identify causes. Follow the repair process carefully. Select compatible products. Maintain the coating system through regular inspection and care.
The goal is not just to fix the surface. It is to restore protection and extend the life of the asset. A well maintained coating system performs better, looks better, and costs less over time.
Frequently asked questions
Can I paint over chalking without removing it?
No. Painting over chalking traps loose material and moisture. Remove the chalked coating and prepare the surface before applying new paint.
What is the best coating for fading repair?
UV resistant topcoats such as polyurethane or fluoropolymer are suitable. The choice depends on the substrate and environment.
How often should I inspect exterior coatings?
Inspect based on the environment. Coastal or chemical assets need more frequent checks. Annual inspection is a reasonable baseline for most industrial assets.
Is chalking only a cosmetic issue?
No. Chalking indicates binder failure and loss of protection. It can lead to substrate corrosion if left untreated.
Can I use the same topcoat as the original coating?
Yes, if the product is still available and compatible. If not, select a compatible alternative and check with the supplier.