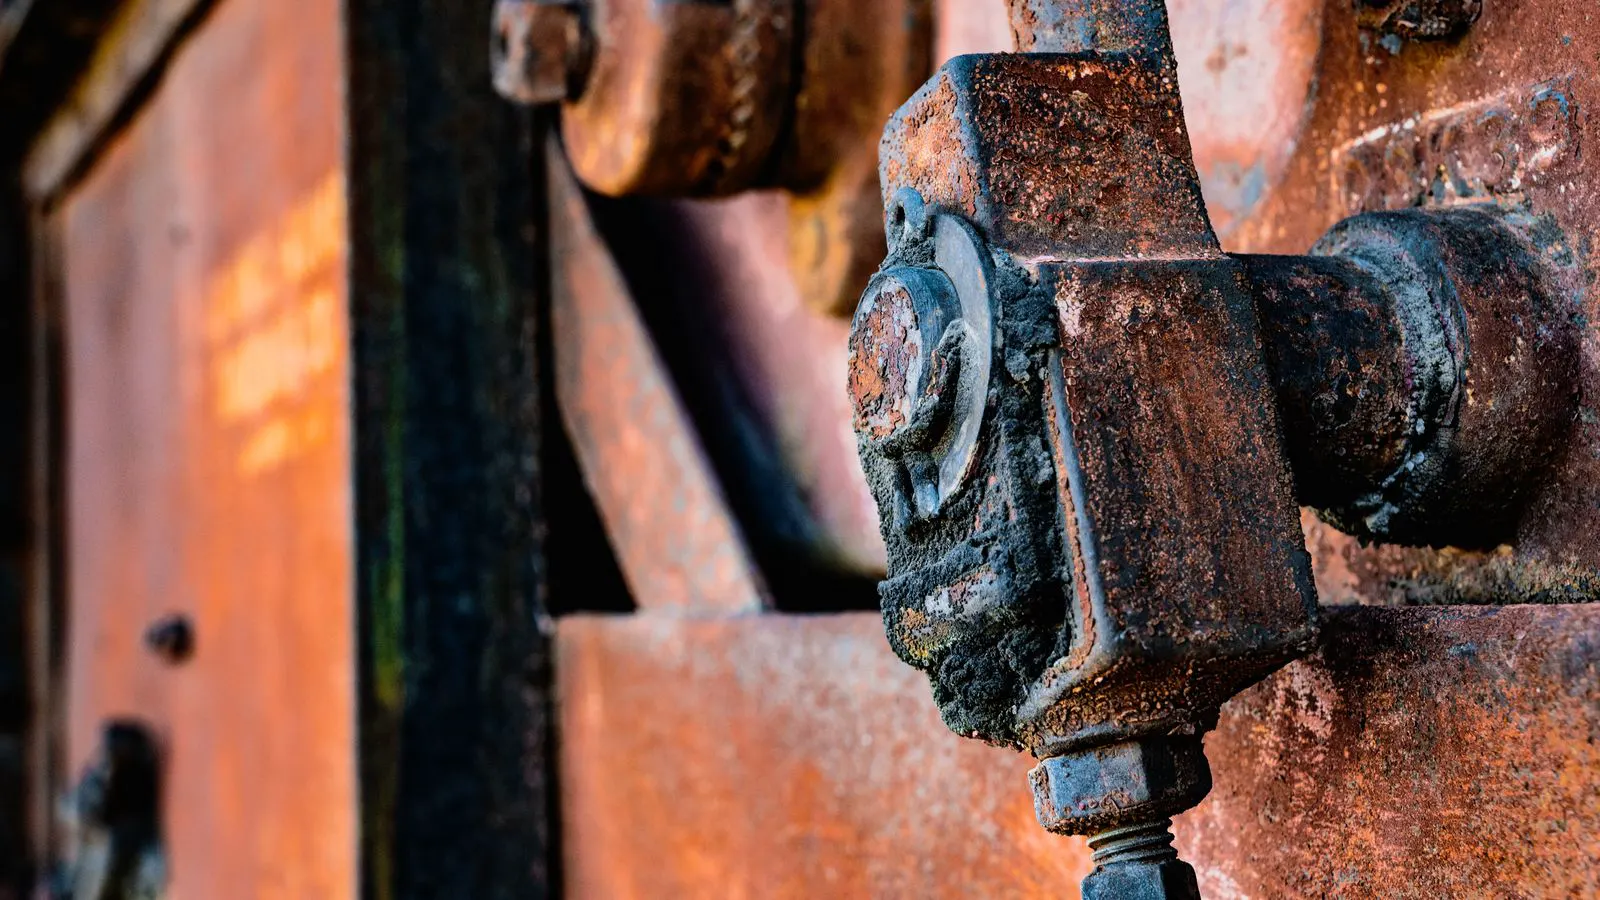
Troubleshooting Pinhole Rust in Protective Coatings
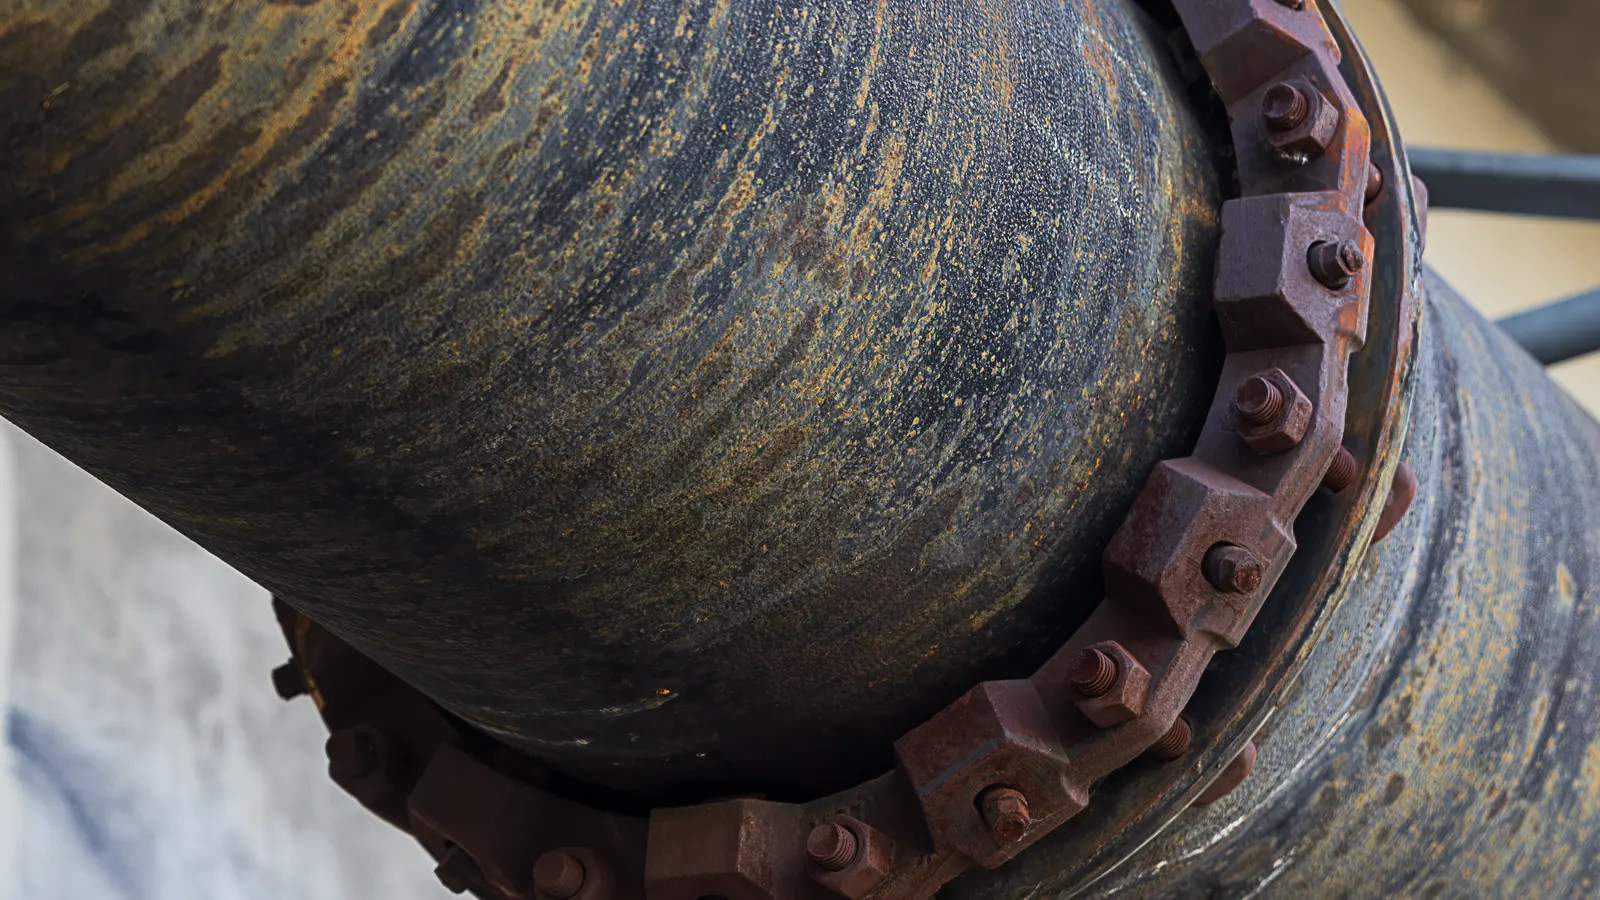
Pinhole rust appears when coating defects expose base metal to moisture. Engineers must identify defects like poor adhesion, contamination, or mechanical damage. Corrective action focuses on surface preparation, material selection, and strict application control to ensure long-term rust prevention.
- Pinholes often start at microscopic defects in surface preparation or application.
- Visual inspection must be paired with soundness testing to map hidden damage.
- Repair requires removing all loose material and restoring proper adhesion.
- Process control during application prevents most recurring coating failure issues.
Why Pinholes Appear on Coated Steel
Pinhole rust is a localized form of coating failure where the protective film breaks through at a single point. The rust spot appears small, often just a few millimeters wide, but it indicates a serious breakdown in the barrier system. The base metal is exposed to moisture, oxygen, and chlorides. Once that opening forms, the chemical reaction accelerates. The rust expands as it forms, pushing the surrounding paint outward. This creates a small dome or blister before the pinhole eventually weeps.
Engineers frequently see these defects after a coating system has been in service for some time. Sometimes the rust appears immediately after application. The cause is rarely the paint itself. It is usually the interface between the substrate and the coating. Contamination, poor adhesion, or mechanical damage creates a weak point. Water finds its way into that weak point.
The failure mechanism often involves capillary action. A microscopic gap in the primer or a contaminated area allows water to wick into the coating stack. When that water evaporates, it leaves behind dissolved salts. These salts are hygroscopic. They draw more moisture back into the defect. This cycle continues until the barrier fails completely.
Understanding the failure mechanism helps target the fix. A cosmetic scratch may need a touch-up. A structural pinhole requires a full assessment of the coating system. The goal of rust prevention is to restore the barrier function before the damage spreads. If the root cause is not identified, the repair will likely fail within the same season.
Common Symptoms of Pinhole Corrosion
Identifying the problem early saves time and money. Pinhole corrosion has distinct visual and physical traits. These signs help differentiate localized rust from general coating degradation.
- Isolated spots: Rust appears as small, distinct points rather than broad areas of redness.
- Blistering: The paint around the spot may lift or bubble slightly due to pressure from moisture.
- Rim formation: A dark ring of rust forms around the center of the pinhole.
- Soft surface: The coating near the defect may feel soft or spongy to the touch.
- Soundness issues: A tapping tool may produce a hollow or dull sound over the affected area.
These symptoms can appear on flat plates, curved tanks, or complex structural members. The location often gives a clue. Pinholes on horizontal surfaces may indicate pooling water. Pinholes on vertical surfaces may suggest spray application errors.
Consider a steel tank bottom plate. If water collects in low spots after rain, pinholes often cluster in those areas. The water sits on the coating, dissolving any micro-voids. The rust forms beneath the paint first. It only becomes visible when the paint blisters and breaks.
On a vertical column, pinholes may align with the path of a spray gun. If the operator moved too quickly, the solvent trapped in the wet film could not escape. As the coating cured, the pressure from the trapped solvent pushed the film up. The resulting blister ruptures, leaving a pinhole.
Soft surface texture is a critical indicator. Run your fingernail over the suspect area. If the paint feels like rubber or dough, moisture is trapped underneath. The coating has not cured properly. This is different from a hard, brittle surface caused by over-curing or incorrect mixing ratios.
Troubleshooting Table: Symptoms, Causes, and Fixes
Use this table to match observed symptoms with likely root causes. This format helps engineers prioritize inspection efforts and select the right repair strategy.
| Symptom | Likely cause | What to do |
|---|---|---|
| Small isolated spots on horizontal surfaces | Water pooling or trapped moisture during application | Clean and dry substrate thoroughly. Improve drainage design. |
| Clusters of pinholes near welds or edges | Heat-affected zone contamination or oxide scale | Remove heat-affected zones. Grind to bare metal before priming. |
| Pinholes in thick coating areas | Solvent entrapment or insufficient drying time | Adjust application rate. Allow proper flash-off between coats. |
| Random pinholes across large panels | Substrate contamination (oil, grease, salt) | Perform rigorous degreasing and cleaning. Test adhesion. |
| Pinholes after mechanical impact | Chipping or cracking of the coating | Inspect for impact damage. Repair with proper primer and topcoat. |
| Pinholes in shaded or low-ventilation areas | Poor solvent evaporation or condensation | Improve ventilation. Control ambient humidity during application. |
Diagnosing the Root Cause
Visual inspection is the first step, but it is not enough. A pinhole may be hiding a larger area of poor adhesion. Engineers need to verify the extent of the damage.
Start with a visual survey using adequate lighting. Look for color changes, texture differences, and rust bleed-through. Use a flashlight at a low angle to highlight surface irregularities. This reveals pinholes that are invisible under direct light. The low angle casts shadows into microscopic voids. You may see a network of tiny bubbles under the surface film.
Next, use a soundness test. Tap the surface with a small hammer or a dedicated soundness tester. Solid coating produces a clear, ringing tone. Areas with poor adhesion or underlying rust produce a dull, hollow sound. Mark the perimeter of the suspect area with paint marker. Do not rely on a single tap. Soundness testing is random. You need a grid pattern to ensure coverage.
For definitive diagnosis, remove the coating in the suspect zone. Grind down the pinhole and surrounding area until you see bare, clean metal. Examine the interface. Look for:
- Oxidation: Red or brown rust under the coating.
- Contamination: Oily films, dust, or salt residue on the substrate.
- Adhesion failure: A clean separation between the primer and the steel.
- Pinholes in the primer: Tiny voids that allowed moisture through.
The findings from this cross-section guide the repair process. If the primer failed, the topcoat will not hold. You must address the primer layer. If the substrate is contaminated, cleaning is the priority.
Check the primer adhesion specifically. Pull a small strip of the primer using a knife or a pull-off test. If the primer stays on the steel, the substrate is clean. If the primer pulls off with the steel, the surface preparation was inadequate. Oil or grease creates a barrier. The primer cannot bite into the metal.
Look for the heat-affected zone near welds. The metal in this area is different from the base steel. It is softer and has a different oxide structure. If the welder did not remove the spatter or scale, the primer cannot bond. Pinholes often form right at the weld toe. The stress concentration there makes the defect worse.
Repairing Pinhole Rust
The repair method depends on the size and severity of the defect. Small pinholes can often be repaired with spot treatment. Larger areas require full re-coating.
For small pinholes:
- Grind the rust out until you reach solid, clean metal.
- Feather the edges to blend the repair area with the surrounding coating.
- Clean the area with a degreasing agent.
- Apply a compatible anti-corrosion primer.
- Apply the topcoat system.
For larger areas or clusters:
- Remove all failed coating material.
- Grind to bare metal.
- Perform a thorough cleaning of the substrate.
- Apply a full primer system.
- Apply the topcoat system.
Always use materials compatible with the existing coating system. Mixing incompatible primers or topcoats can cause adhesion failure later. Check the technical data sheets for compatibility. Many modern topcoats require specific primers. Using a generic zinc primer under an epoxy topcoat can cause blistering. The chemical reaction between the two layers may generate gas.
When grinding, use the correct grit. Start with a coarse grit to remove the rust and damaged paint. Finish with a fine grit to create a smooth profile. The surface profile must match the original coating system. If you apply a smooth primer over a rough profile, you may trap air. This creates new defects.
Clean the substrate after grinding. Dust from the grinding process is fine. It prevents adhesion. Use a vacuum and a tack cloth. For oil-contaminated areas, use a solvent wipe. Do not use water to clean the area. Water residue causes immediate rust.
Prevention Tips for Long-Term Protection
Prevention is cheaper and more effective than repair. Focus on process control and surface preparation.
- Surface preparation: Achieve the required surface profile. Remove all contaminants like oil, salt, and dust. Use approved cleaning agents.
- Environmental control: Monitor humidity and temperature. Avoid applying coatings in high humidity or low temperature conditions.
- Application technique: Follow manufacturer recommendations for film build, flash-off, and dry times. Do not over-apply thick coats.
- Inspection: Perform adhesion tests during application. Check soundness after each coat.
- Documentation: Record all inspection results, repair actions, and material batches.
Surface preparation is the most critical step. Steel from a mill often has mill scale. This scale is hard to remove. It must be blasted to a specific profile. The roughness allows the primer to anchor. If you apply paint to smooth steel, the adhesion is weak. Pinholes form easily.
Environmental control is often overlooked. Painting in the rain or high humidity causes condensation on the substrate. The paint traps the moisture. As the solvent evaporates, the water remains. It causes blistering and pinholes. Monitor the dew point. If the surface temperature is below the dew point, stop painting.
Application technique matters. Spraying too thick causes solvent entrapment. The top layer cures before the bottom layer dries. The solvent cannot escape. It pushes the coating up. This creates blisters and pinholes. Apply thinner coats. Let each coat flash off completely.
Maintenance and Monitoring
Even a well-applied coating system degrades over time. Regular maintenance extends service life.
Schedule periodic inspections. Look for new pinholes, blistering, or rust bleed-through. Pay attention to areas with poor drainage or high humidity.
Keep a record of any repairs. Track the location, date, and method used. This data helps identify patterns. If pinholes keep appearing in the same area, investigate the design or environment.
Train maintenance staff on basic inspection techniques. They can spot early signs of coating failure. Early intervention prevents small defects from becoming large problems.
A maintenance schedule should be based on the environment. A structure in a coastal area needs more frequent inspection than one in a dry climate. Salt in the air accelerates corrosion. Pinholes form faster in these environments.
Inspect during dry weather. Water on the surface makes it hard to see rust. Wipe the surface with a dry cloth. Look for orange or brown stains. These stains indicate active corrosion.
Check the drainage paths. If water runs down a vertical surface, it may carry salt or dirt. This dirt abrades the coating. It wears away the top layer. Pinholes form where the coating is thinnest.
When to Call in a Specialist
Some coating failures are too complex for routine maintenance. Call in a specialist if:
- The pinholes are widespread and difficult to map.
- The coating system is unknown or undocumented.
- The structure is critical and requires a formal assessment.
- There is a history of rapid corrosion or structural damage.
A specialist can perform advanced testing. This may include adhesion tests, coating thickness measurements, or microscopic analysis of the failure. They can provide a detailed repair plan and verify the solution.
If the coating system is unknown, you cannot repair it correctly. The chemistry of the unknown layers may react with your repair material. This causes further failure. A specialist can identify the layers using spectroscopy or other methods.
For critical structures, a formal assessment is required. The client may need a report for insurance or legal reasons. A specialist provides a documented evaluation. They define the scope of work. They verify the repair quality.
Do not attempt to repair a complex failure without a plan. Guessing at the root cause leads to wasted time and materials. A specialist saves money by getting the diagnosis right the first time. They have the tools and experience to handle difficult cases.
Frequently asked questions
Can pinhole rust be prevented with a topcoat alone?
No. A topcoat only covers the surface. It cannot fix defects in the substrate or primer. The root cause must be addressed before re-coating.
How long does it take for pinholes to appear?
It varies. Some appear within days of application. Others may take years. The timeline depends on the environment, coating quality, and defect size.
Is it safe to paint over a pinhole without grinding?
No. Painting over rust and loose coating will not stop corrosion. The defect will continue to grow. Remove all failed material first.
What surface profile is best for rust prevention?
The required profile depends on the coating system and substrate condition. Follow manufacturer recommendations. A proper profile ensures good mechanical adhesion.
Can I use the same primer for all repairs?
No. Not all primers are compatible with all topcoats. Check the compatibility chart. Using an incompatible primer can cause adhesion failure later.