Troubleshooting Poor Adhesion After Coating Application
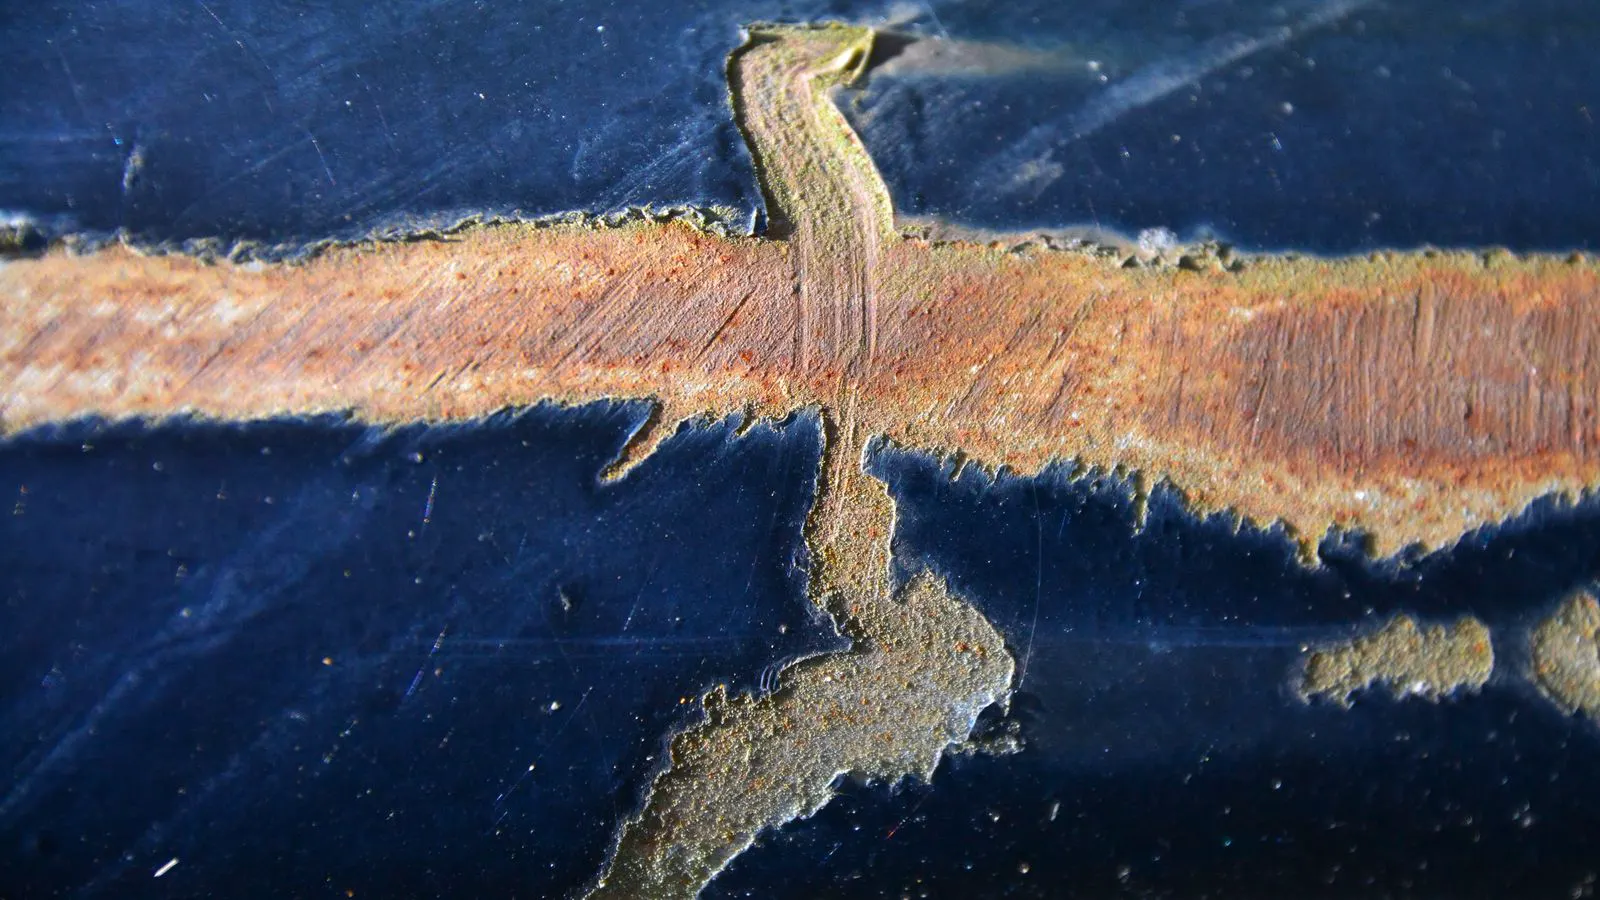
Poor adhesion usually stems from surface contamination, incorrect surface preparation, or incompatible coating systems. This guide breaks down common symptoms, likely causes, and practical fixes to restore coating quality control.
- Surface contamination is the most common root cause of poor adhesion.
- Always verify surface profile and cleanliness before applying the first coat.
- Use cross-cut and pull-off adhesion tests to validate coating quality control.
- Record batch numbers, surface preparation parameters, and environmental conditions.
- Corrective actions must target the specific defect pattern observed.
Why Adhesion Fails in Industrial Coatings
Coating adhesion failure is rarely a single mistake. It usually comes from a combination of surface preparation errors, material incompatibility, and process deviations. When a coating lifts, blisters, or flakes after application, the problem is rarely in the paint itself. It is almost always in what the coating is trying to bond to.
Engineers and quality technicians need a systematic way to isolate the failure point. This guide walks through the most common adhesion failure modes, the root causes behind each, and the corrective actions that actually work on the shop floor.
Identifying the Failure Pattern
The first step in troubleshooting is to look at how the coating failed. The pattern tells you where the bond broke.
- Lifting or flaking in sheets: The coating peeled away from the surface in large, flat pieces. This usually points to a surface preparation failure. The coating did not bond to the substrate at all.
- Blisters or bubbles: Rounded, dome-shaped defects. These often form when trapped moisture or solvent gas expands under the coating. The coating adhered initially, but something underneath pushed it up.
- Cross-hatch failure: The coating splits along the cut lines of a cross-cut test. This indicates weak interfacial bonding, often from insufficient mechanical profile or contamination.
- Peel or pull-off failure: The coating pulls off the substrate under tensile force. This can signal a weak interface or a mismatch between coating and substrate stiffness.
- Cohesive failure: The coating cracks inside its own mass, leaving the substrate intact. The bond held, but the coating was too brittle or too thick for its own adhesion.
Understanding the pattern prevents wasted rework. If you treat a cohesively failed coating the same as a poorly prepared substrate, you will keep failing.
Common Symptoms, Causes, and Corrective Actions
The table below summarizes the most frequent adhesion failure scenarios seen in industrial coating operations. Each row pairs a visible symptom with its likely root cause and the practical steps to take.
| Symptom | Likely cause | What to do |
|---|---|---|
| Coating peels off in large sheets after application | Surface contamination from oil, grease, dust, or mill scale; insufficient mechanical profile | Re-clean the substrate using a validated solvent wipe or alkaline wash. Abrade to the required profile. Re-test surface profile with a comparator before recoating. |
| Blisters appear within hours of application | Trapped moisture, trapped solvent, or high humidity during application | Identify the source. Reduce relative humidity during application. Extend flash-off times between coats. Check substrate drying before the first coat. |
| Cross-cut test fails at the cut lines | Incompatible primer and topcoat; insufficient drying time between coats | Verify compatibility between primer and topcoat. Extend inter-coat dry time. Check for over-thick primer films that remain partially wet. |
| Pull-off test shows low adhesion on a clean, profiled surface | Coating applied too thickly, or substrate too flexible for the coating stiffness | Reduce film thickness to specification. Add a flexible primer. Check substrate properties against coating data sheets. |
| Adhesion passes initially but fails after UV exposure or temperature cycling | Oxidation or degradation of the interface over time; incompatible chemical systems | Use a corrosion-inhibitive or UV-stable primer. Match coating systems for the service environment. Re-test after accelerated aging cycles. |
| Intermittent adhesion failure across a panel | Inconsistent surface preparation, operator variation, or local contamination | Audit the preparation process. Standardize cleaning and abrasion steps. Use a surface cleanliness test on random samples before coating. |
Surface Preparation: The Most Common Root Cause
If there is one area where coating quality control breaks down most often, it is surface preparation. A coating can only bond to what it contacts. If the surface is smooth, contaminated, or unstable, the coating will fail.
Contamination: Oil, grease, silicone, dust, and salt residues create a barrier between the coating and the substrate. Even a thin film of hydrocarbon contaminant can reduce adhesion by a significant margin. The fix is simple but must be done consistently. Wipe down with a solvent that is approved for the substrate and the coating system. Do not use the same rag for the whole job. Change rags frequently.
Surface profile: Mechanical abrasion creates peaks and valleys that interlock with the coating. Without enough profile, the coating has little to grip. Use a profile comparator or a calibrated profilometer to verify the surface roughness matches the coating data sheet. For many industrial systems, a profile in the moderate range is typical. Go too low and you lose mechanical bite. Go too high and you trap air or create stress points.
Stability of the substrate: Mill scale, rust, or loose oxide layers will not bond well. They are not part of the base metal. Grind or blast them out. If the substrate is painted, check whether the old coating is sound. If it is chalky, cracked, or lifting, it must be removed or profiled aggressively.
Coating Process Errors That Break the Bond
Surface preparation sets the stage, but the application process can still ruin the bond.
Film thickness: Applying too much paint is a common mistake. A thick film takes longer to dry. The top layers cure while the bottom layers remain soft. This creates internal stress and weakens the interface. Follow the specified dry film thickness. If you must apply multiple coats, let each coat flash and cure before the next.
Flash-off time: Solvents need time to evaporate before the next coat goes on. If you rush this step, trapped solvent creates bubbles, reduces adhesion, and can cause blisters. The required flash time depends on the coating chemistry, temperature, and humidity. Check the data sheet. Do not guess.
Temperature and humidity: Coatings behave differently in cold, damp conditions. Low temperature slows cure. High humidity traps moisture in the film. Both conditions reduce adhesion. Monitor the environment. Adjust process parameters accordingly. If conditions are outside the recommended range, do not apply the coating.
Coating compatibility: Primer and topcoat must be designed to work together. An incompatible pair will not bond well, even on a perfect surface. Check the manufacturer’s compatibility matrix. If you are mixing systems from different suppliers, verify that the primer is rated for the topcoat.
How to Validate Adhesion After Application
You cannot trust a coating until you have tested it. Adhesion testing is the core of coating quality control. Two methods are the most widely used: cross-cut and pull-off.
Cross-cut test: This is a visual inspection of the coating surface. A grid of cuts is made with a sharp blade. The coating is then peeled or wiped to see how much stays on the substrate. It is fast, inexpensive, and good for routine checks. It is not a quantitative measure, but it gives you a quick pass or fail.
Pull-off test: A circular adhesive tab is bonded to the coating. A machine pulls the tab perpendicular to the surface until the coating fails. The result is a force value, usually in newtons per square millimeter. This is a quantitative measure. It is slower and more expensive, but it gives you data you can trend over time.
When to test: Test after each batch, after a change in surface preparation, after a change in coating product, and after a period of storage. Do not wait for a failure to test. Testing is part of the process, not a reaction to it.
Corrective Actions That Actually Work
When adhesion fails, the first instinct is to re-coat. That is usually the wrong move. You need to find the root cause first.
- Stop the process. Do not apply more coating over a failing surface. You will just make the problem worse.
- Identify the failure mode. Use the pattern analysis from the earlier section. Is it lifting, blistering, or cohesive cracking?
- Check the surface. Clean a small area and inspect it under magnification. Look for contamination, scale, or lack of profile.
- Review the process records. What were the temperature, humidity, flash-off time, and film thickness? Were any deviations from specification?
- Test the substrate. If the problem is surface-related, re-prepare the surface to specification. If the problem is coating-related, check the product batch and mixing records.
- Re-test before recoating. Do not assume the fix worked. Run a cross-cut or pull-off test on a prepared area before applying the full coating.
Prevention: Building Quality Control Into the Process
Prevention is cheaper than correction. The most effective way to avoid adhesion failures is to build quality control checks into every step of the process.
Standardize surface preparation. Write down the cleaning steps, abrasion parameters, and profile targets. Train operators on the exact procedure. Use a checklist. If the checklist is not followed, the process is not followed.
Use a surface cleanliness test. A simple wipe test with a solvent can reveal contamination before the first coat goes on. Do this on a random sample from each panel or batch.
Monitor environmental conditions. Keep a log of temperature and humidity. If conditions go out of range, stop application. Do not try to “push through” the bad conditions.
Verify coating compatibility. Keep the compatibility matrix at the point of application. If you change coatings, re-verify compatibility. Do not assume that a new topcoat will work with an old primer.
Test consistently. Run cross-cut tests on every batch. Run pull-off tests on a smaller frequency, but regularly enough to catch trends. If adhesion starts to drop, you want to know before a customer does.
Document everything. Batch numbers, surface preparation parameters, environmental conditions, and test results. When a failure happens, the records tell you what went wrong. Without records, you are guessing.
When to Escalate
Some adhesion failures are not your problem. If the substrate is contaminated by the supplier, if the coating product is defective, or if the service environment exceeds the coating’s design limits, you need to escalate.
Contact the coating supplier with your test results and process records. Do not just say “the paint failed.” Show them the cross-cut pattern, the pull-off values, the surface preparation records, and the environmental data. The supplier can determine whether the problem is in the product, the application, or the service.
If the substrate supplier is responsible for contamination or unstable surface condition, document the failure and request a rework or replacement. Keep your records. They are your protection.
Final Thoughts on Coating Quality Control
Poor adhesion is a symptom, not a diagnosis. The root cause is almost always in the surface, the process, or the material selection. By identifying the failure pattern, checking the surface, validating the process, and testing consistently, you can catch problems early and fix them before they become expensive. Coating quality control is not a single test. It is a system of checks, records, and decisions that keep the bond strong.
Frequently asked questions
What is the fastest way to check if a coating will adhere properly?
A cross-cut test is the quickest method. It takes only a few minutes and gives a clear visual indication of whether the coating is bonding to the substrate.
Can I apply a topcoat over a primer that is still slightly damp?
No. The primer must reach its specified inter-coat dry time before the next coat is applied. Applying over a damp primer traps solvent and weakens the bond.
How often should I run pull-off adhesion tests?
Run them on a schedule that matches your risk level. For high-value or safety-critical coatings, test every batch. For routine production, test every few batches or after any process change.
What if the coating passes adhesion tests in the lab but fails in the field?
The field environment is different from the lab. Check whether the coating is exposed to higher humidity, temperature cycling, UV, or chemicals that were not in the lab conditions. Re-test under conditions that match the service.
Is it safe to use a solvent wipe on every panel?
Yes, if the solvent is approved for the substrate and the coating system. It is one of the cheapest and most effective ways to catch contamination before it ruins the coating.