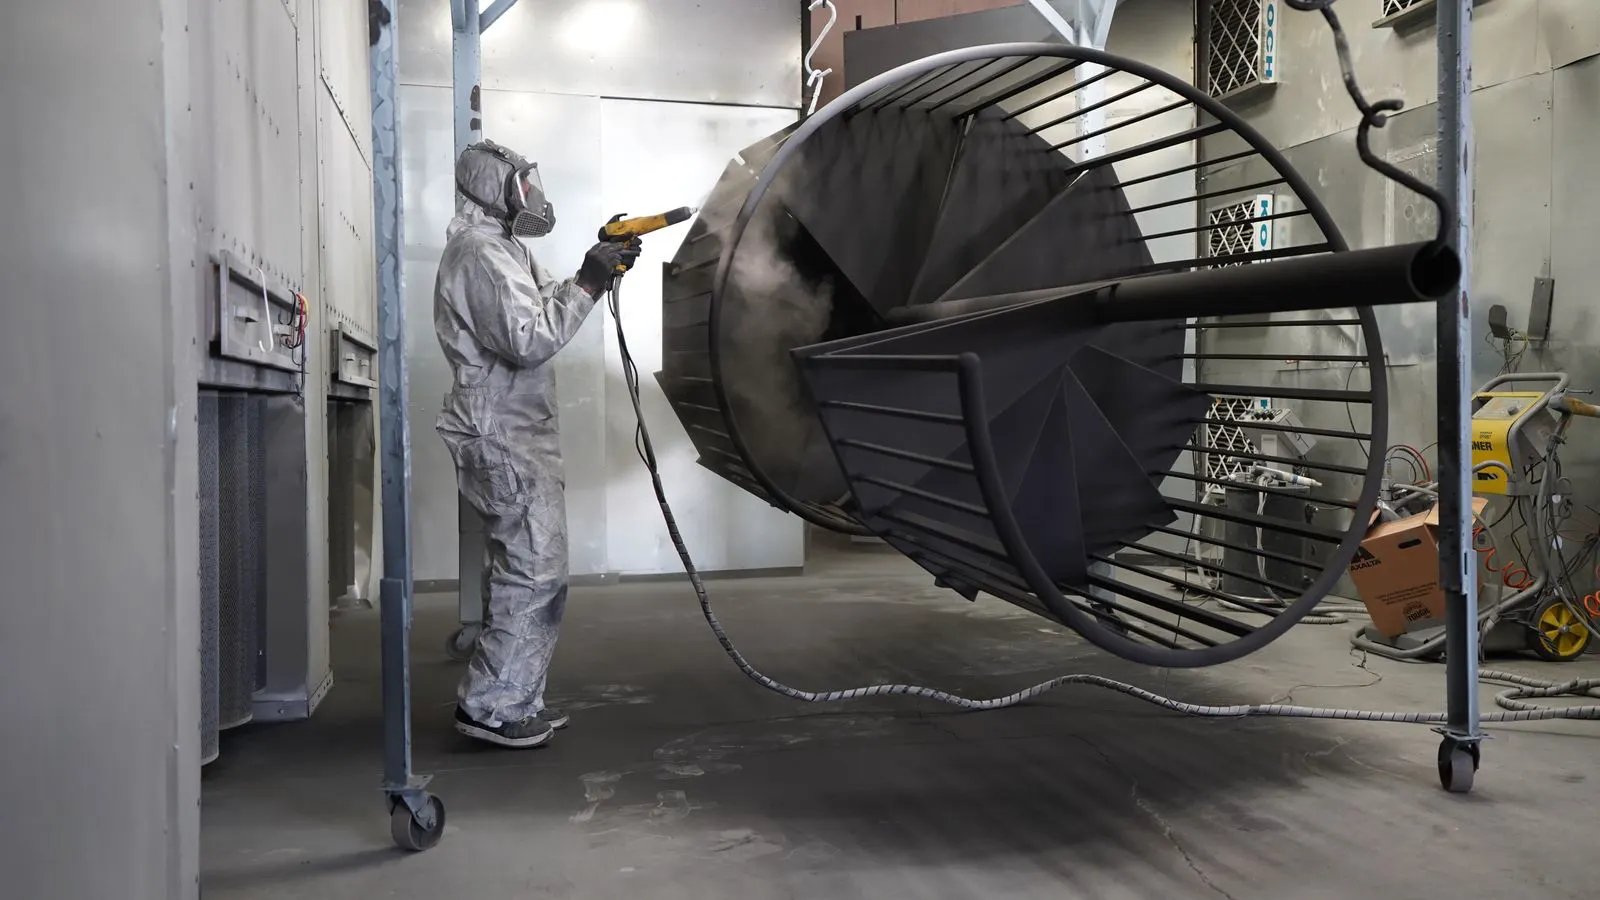
How to Pre-Treat Steel Before Industrial Coating Application
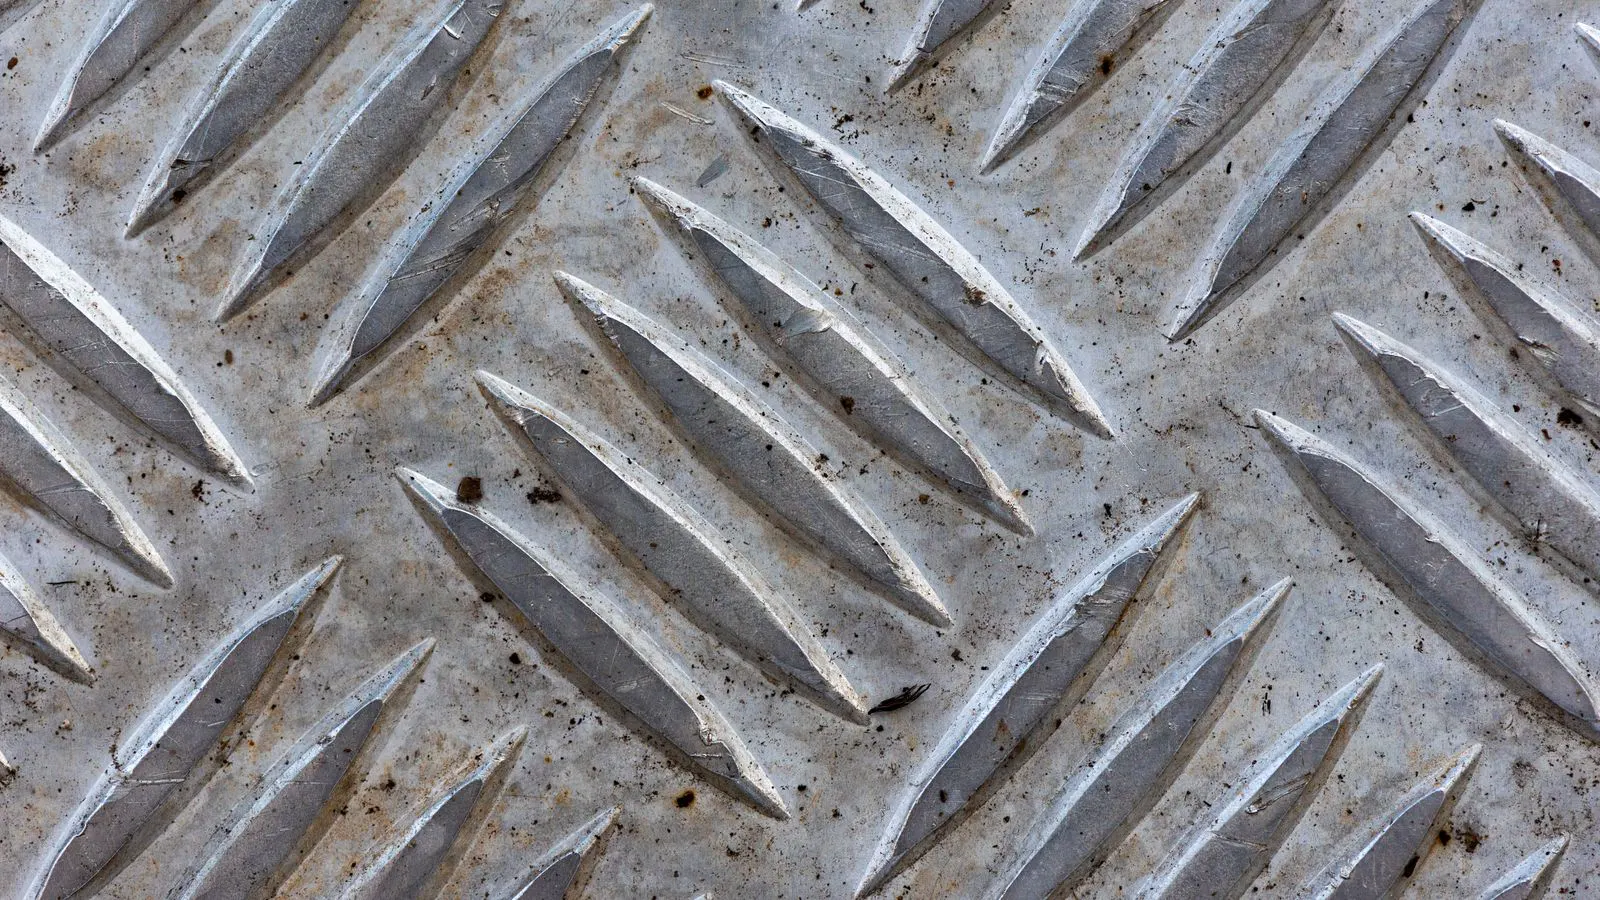
Steel pre-treatment coating requires removing contaminants, reducing surface energy, and creating a profile for paint adhesion. Proper metal surface preparation ensures the coating bonds correctly to the substrate prep, preventing early failure.
- Surface contamination is the primary cause of coating failure, making cleaning the first non-negotiable step.
- The correct surface profile depends on the specific coating system requirements.
- Environmental conditions during preparation affect the drying of chemical treatments.
- Final verification through visual inspection and adhesion testing confirms the quality of the work.
- Consistency in the process is more important than speed in industrial production.
Why Surface Prep Determines Long-Term Performance
Coating failures rarely start with the paint. They begin with the substrate. If the steel surface contains oil, rust, dust, or moisture, the binder in the industrial coating cannot penetrate the microscopic peaks of the metal. The result is peeling, blistering, or lifting within months, even if the coating system itself is high-performance.
Engineers and procurement teams often focus on the final film thickness or the chemical composition of the topcoat. This is a mistake. The interface between the paint and the steel is the weakest link in the assembly. A thick epoxy layer on a contaminated surface will fail faster than a thinner layer on a clean, properly profiled one.
Steel pre-treatment coating is not a single action. It is a sequence of mechanical, chemical, and environmental controls. The goal is to create a uniform, dry, and clean surface that meets the specific adhesion requirements of the selected paint system.
Pre-Prerequisites Before Starting the Process
Before touching the steel, you need to understand the material and the environment. Do not assume all steel is the same. Hot-rolled mill scale, cold-rolled scale, and weld heat-affected zones behave differently during cleaning.
Check the steel grade and condition. Is it structural section, plate, or sheet? Is it new from the mill, or has it been fabricated and welded? Welded joints require special attention because of residual flux and heat discoloration.
Review the coating datasheet. Every industrial paint system has a minimum surface profile requirement, often expressed in microns or mils. Some require a near-white blast finish, while others accept a lighter commercial blast. Matching the prep level to the coating spec is the single most effective way to avoid rejection at inspection.
Ensure your team has the right PPE. Grinding, blasting, and chemical cleaning generate dust, noise, and fumes. Proper respiratory protection and eye gear are mandatory.
Step-by-Step Process for Steel Pre-Treatment Coating
-
Remove loose mill scale and heavy rust.
Start with grinding or shot blasting to remove any material that does not adhere firmly to the base metal. Loose scale will not bond with the primer. If you leave it, it acts as a base layer that eventually detaches, taking the paint with it. This step is mechanical and physical. It is the foundation of the entire process. -
Grind welds and surface imperfections.
Weld beads are harder than the base metal. They often have higher surface energy and different oxide layers. If you do not grind welds flush, the coating will not flow evenly over the peak. This creates stress concentration points. High-stress areas are where cracks initiate. Grind welds smooth and level. -
Blast or abrade to the required profile.
Use abrasive blasting to create the necessary surface texture. The goal is not just cleanliness, but roughness. The paint needs mechanical interlock. A smooth, shiny surface offers little grip. The abrasive particles must penetrate the steel to create a “tooth.” The size and intensity of the blast determine the profile depth. Too little blast and the paint slides. Too much and you damage thin sections. -
Apply a chemical converter if specified.
Some systems use phosphoric acid or chromate-based converters to promote adhesion. These chemicals etch the surface and form a thin, reactive layer. This is not always required. Many modern epoxy systems work on bare, clean steel without a chemical intermediate. Only use a converter if the coating datasheet or the project specification demands it. -
Control the environment during prep.
Temperature, humidity, and dew point affect chemical drying and blast dust behavior. If the steel is cold and humid, moisture will condense on the surface during the break between steps. This water traps rust. Keep the steel above the dew point. If you cannot control the air, control the steel. Use heaters or dehumidifiers in the prep area. -
Apply the primer immediately after prep.
There is a time window between surface preparation and primer application. If the steel sits too long, it re-rusts. Oxide formation starts almost immediately. The primer seals the surface. Do not leave the prepared steel exposed to the open air for extended periods. Schedule the primer application based on the drying time of the previous step. -
Inspect and document the surface.
Before painting, walk the surface. Look for shadows, missed spots, or contamination. Take photos. Record the ambient conditions. This documentation is your defense if a coating failure occurs later. It proves the prep was done correctly.
Common Mistakes in Metal Surface Preparation
The most frequent error is skipping the dew point check. Teams blast the steel in the morning when it is cold. By the afternoon, the surface has re-rusted. The primer bonds to rust, not steel.
Another common mistake is using the wrong abrasive. Sandblasting is effective for profile, but it leaves dust that is hard to remove. Use aluminum oxide or garnet for cleaner finishes. The dust from sand contains silica, which is a health hazard and a contaminant.
Do not use degreasing solvents that leave a film. Some cleaners evaporate quickly but leave behind a waxy residue. This residue blocks the primer from touching the metal. Use approved solvents that dry completely without leaving a film.
Finally, avoid rushing the weld preparation. Welds are the most common failure point. If you spend 80% of your time on flat surfaces and 20% on welds, you are setting up for failure. Spend equal effort on both.
Verification and Final Checks
The final step is not a guess. It is a measurement.
Visual inspection is the baseline. Look at the surface in raking light. Shadows reveal profile. A clean surface should be uniform.
Adhesion testing is the gold standard. Apply a small sample of the primer and cure it. Perform a cross-cut or pull-off test. This tells you if the bond is strong enough. If the test fails, the prep is inadequate. Do not paint over a failed adhesion test.
| Check Method | What It Reveals | Frequency |
|---|---|---|
| Visual Inspection | Surface uniformity and cleanliness | Every panel or section |
| Dew Point Check | Risk of condensation and rust | Before and during prep |
| Adhesion Test | Bond strength between primer and steel | Random sampling, at least 3 per job |
| Profile Measurement | Depth of surface roughness | Spot checks on different areas |
When to Stop and Re-Prep
If the adhesion test fails, stop. Do not try to “fix” it with a thicker primer. The bond is already broken. You must re-clean the area. This is costly, but it is cheaper than replacing a failed structure.
If the surface is contaminated with oil or grease, solvent cleaning may not be enough. You may need to blast again. Solvents remove surface contaminants, but they do not remove embedded oils that have penetrated the profile. Blast to remove the contamination and the damaged profile.
Conclusion
Steel pre-treatment coating is a technical process, not a cosmetic one. It determines the lifespan of the coating system. By following a disciplined approach to cleaning, profiling, and verification, you ensure that the paint adheres to the substrate prep as intended.
The cost of proper prep is small compared to the cost of coating failure. Invest in the right tools, the right environment, and the right checks. The result is a durable, long-lasting finish.
Frequently asked questions
How much time should pass between surface prep and primer application?
Keep the time window short. Most coatings require application within 2 to 4 hours to prevent re-rusting. Check the specific datasheet for your system.
Can I use a chemical converter on all steel surfaces?
No. Converters are system-specific. Some coatings require bare, clean steel. Use a converter only if the datasheet or specification requires it.
What is the minimum surface profile for industrial coatings?
It varies by system. Epoxy systems often require a profile of 50 to 75 microns. Verify the requirement in the coating datasheet.
How do I check if the surface is free of contamination?
Use a solvent wipe test. Wipe the surface with a clean cloth dampened with approved solvent. If the cloth shows any discoloration, the surface is contaminated.
Is welding preparation more important than flat surface preparation?
Both are critical, but welds are the weak point. Welds have different metal properties and are prone to cracking. They require as much attention as flat surfaces.