How to Calculate Wet Film Thickness for Budgeting
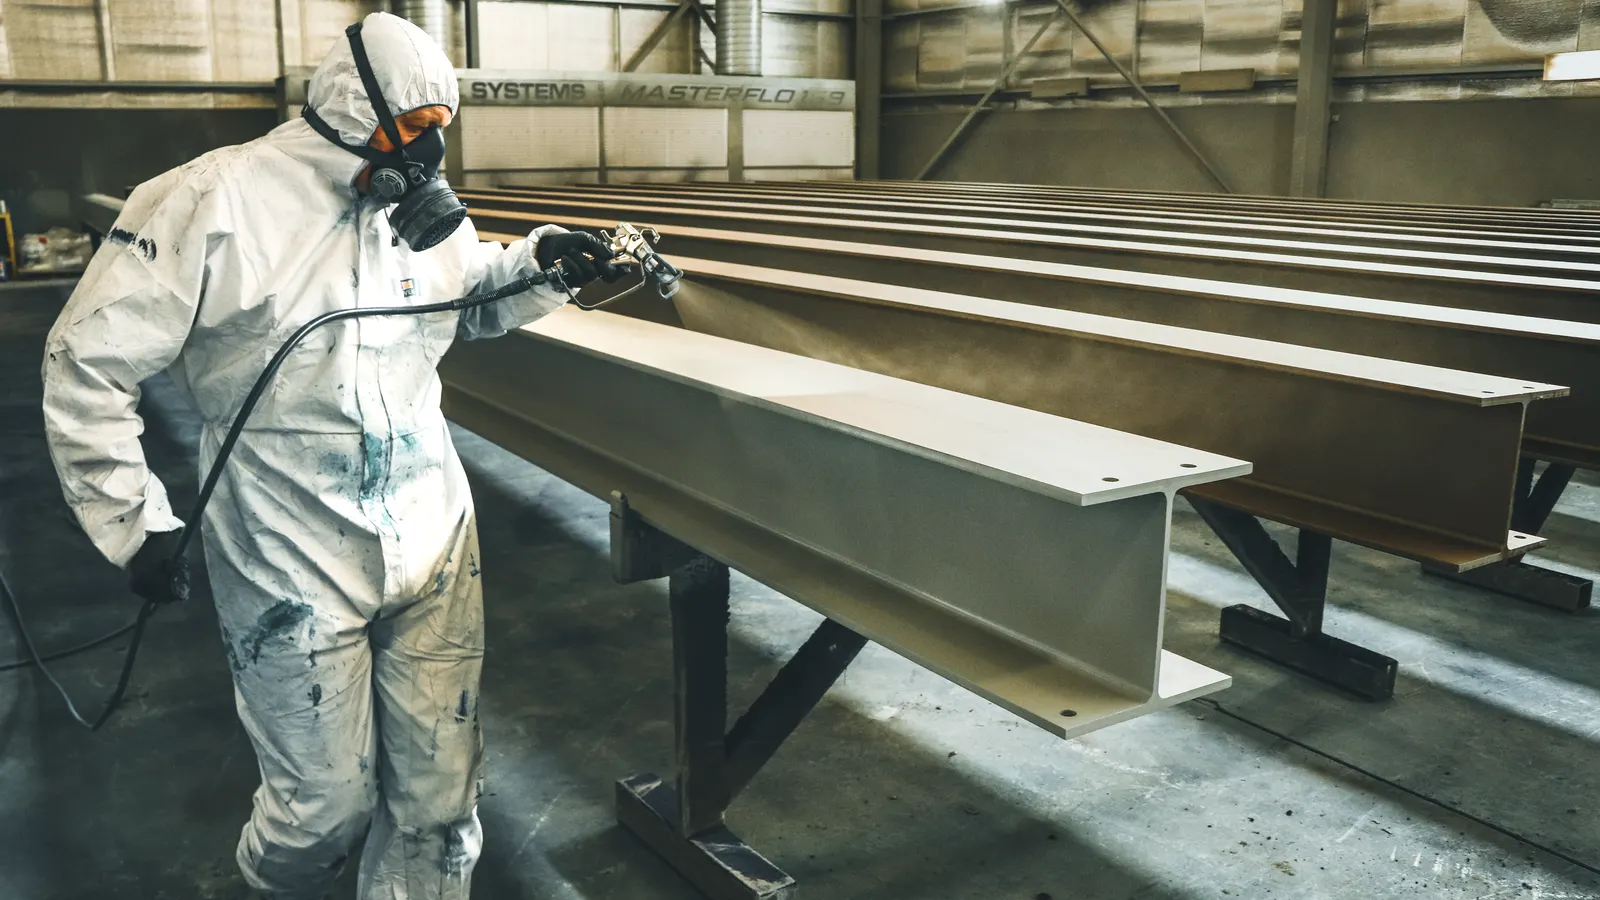
To calculate wet film thickness for budgeting, use the coverage rate and dry film thickness target to determine the volume of coating required per square meter. This method removes guesswork from industrial coating cost estimates.
- Wet film thickness is calculated by multiplying the dry film thickness target by the volume solids percentage.
- A standard spray gun uses a fixed tip size that sets a baseline for material flow.
- Always adjust the budget for surface area, overlap, and rework based on the final wet film thickness.
- Use a calibrated dip stick to verify the calculated wet film thickness on a test panel.
Why Wet Film Thickness Drives Coating Budgets
Coating cost estimates fail when the team guesses the material volume. The gap between the dry film thickness on the spec sheet and the wet film thickness in the spray gun creates a budget gap. Most industrial projects use dry film thickness, or DFT, as the performance metric. But the contractor buys the coating by volume. The wet film thickness, or WFT, is the bridge between those two units.
Without a clear WFT calculation, the budget assumes a theoretical application rate. The field application rate is always higher because of overlap, surface texture, and spray pattern loss. A coating spec might require a DFT of 80 microns. The material data sheet might list a volume solids of 55 percent. The WFT calculation shows that the contractor must apply a thicker wet layer to achieve that dry result. This difference is where the cost control lives.
Prerequisites for a Reliable Calculation
Before you open a spreadsheet, gather three data points. The first is the target dry film thickness. This number comes from the project specification or the coating manufacturer’s technical data sheet. The second is the volume solids of the coating. This figure tells you how much of the liquid is actual pigment and binder. The third is the surface area to be coated. This includes all faces, edges, and any hidden areas that the spec requires to be protected.
You also need to know the application method. A high pressure spray gun behaves differently than a roller or a brush. The application method changes the overspray and the material flow. For this guide, we assume a standard airless spray gun. If you use a different method, the wet film thickness calculation still applies, but the material flow rate changes.
Step One: Identify the Target Dry Film Thickness
Start with the number that matters for performance. The target dry film thickness is the thickness of the coating after it has cured. This number is usually in microns or millimeters. A typical industrial floor coat might require a DFT of 40 microns. A heavy duty maintenance coat might require a DFT of 100 microns. Write this number down. It is your anchor.
If the specification lists a range, use the minimum for the base budget and the maximum for the risk buffer. This two number approach keeps the cost estimate honest. It also helps you explain to the client why the budget includes a contingency for thicker applications.
Step Two: Obtain the Volume Solids Percentage
The volume solids percentage tells you how much of the liquid coating remains after the solvent evaporates. A high volume solids coating might be 80 percent solids. A traditional solvent based coating might be 40 percent solids. You can find this number on the Technical Data Sheet, or TDS, from the coating supplier.
This number is critical. If you assume 50 percent solids but the product is actually 60 percent, your wet film thickness calculation will be wrong. A higher solids content means you need less liquid to get the same dry thickness. This directly impacts the volume of paint purchased.
Step Three: Calculate the Wet Film Thickness
The formula is simple. Wet film thickness equals the dry film thickness divided by the volume solids percentage. If your target DFT is 80 microns and the volume solids is 50 percent, the calculation is 80 divided by 0.50. The result is 160 microns. This is the wet film thickness you must apply.
This step reveals the true material requirement. The 160 micron wet layer contains more liquid than the 80 micron dry layer. The difference is the solvent that will evaporate. Your budget must cover the full 160 micron wet layer, not just the 80 micron dry result.
Step Four: Convert Wet Film Thickness to Volume
Now you convert the wet film thickness into a volume per square meter. The formula for volume in liters per square meter is the wet film thickness in millimeters multiplied by the surface area in square meters. Then divide by 1000 to convert from microns to millimeters if needed.
For example, if the WFT is 160 microns, that is 0.16 millimeters. For one square meter of surface, the volume is 0.16 liters. This number is your base consumption rate. It tells you how much liquid coating covers one square meter at that specific thickness.
Step Five: Adjust for Surface Area and Geometry
The base consumption rate assumes a flat, smooth surface. Real industrial surfaces are not flat. A corrugated roof, a pipe bundle, or a cast iron pipe all require more coating than a flat sheet. The surface area must be calculated for every face.
A common mistake is to measure only the projected area. You must measure the actual area of the material. A pipe has a curved surface. A valve has complex geometry. Use the manufacturer’s dimension drawings to calculate the true surface area. Multiply the base consumption rate by the total actual surface area to get the total volume required.
Step Six: Apply a Coverage Factor for Overlap
Spray application is not a perfect sheet. You must overlap the coats to ensure uniform coverage. A typical overlap rate for airless spray is between 10 percent and 20 percent. Add this percentage to your total volume.
If your base volume is 100 liters, a 15 percent overlap adds 15 liters. This extra volume ensures that every square inch is covered. It also accounts for the spray pattern loss. The tip size of the spray gun matters here. A larger tip wastes more material but allows faster application. A smaller tip wastes less but is slower.
Step Seven: Account for Rework and Defects
No coating job is perfect. You will have areas that need a touch up. You will have spots where the spray pattern was uneven. You will have surfaces that were not prepared correctly. The rework factor is usually between 5 percent and 10 percent of the total volume.
This factor protects the budget from small errors. It also covers the cost of cleaning up overspray. If the surface is not properly degreased, the coating might not bond. The rework factor covers the cost of stripping and recoating those bad areas.
Step Eight: Add a Contingency for Material Price Fluctuation
Coating prices change. Raw material costs fluctuate. Currency rates shift. A material price contingency of 5 percent is a standard practice in industrial projects. This buffer protects the budget from market changes during the project duration.
If the project is long, use a higher contingency. If the project is short, use a lower contingency. This step is not about the coating volume. It is about the cost of the coating. But it is part of the overall budgeting process.
Common Mistakes in Wet Film Thickness Calculation
The most common mistake is using dry film thickness as the wet film thickness. This underestimates the material volume by a large margin. If you use the DFT directly, you will run out of paint before the job is finished.
Another mistake is ignoring the volume solids. Some contractors assume all coatings are 50 percent solids. This is wrong. A water based coating might have a different solids content than a solvent based coating. Always check the TDS.
A third mistake is not measuring the true surface area. Projected area is too low. You need the actual area. Use the drawings and measure the surfaces.
Final Verification Step
Before you release the budget, run a test panel. Spray a small area of the actual substrate using the calculated WFT. Wait for the coating to cure. Measure the DFT with a micrometer or a dip stick. If the DFT is lower than the target, increase the WFT in your calculation.
This verification step ensures that your calculation matches reality. It also helps you fine tune the spray gun settings. If the spray gun is set too low, you will not achieve the WFT. If it is set too high, you will waste material. The test panel is the final check.
Coating Budgeting Best Practices
Use a spreadsheet to track the calculations. Keep the formulas visible. If the DFT changes, the WFT changes. If the volume solids changes, the WFT changes. The spreadsheet updates automatically. This makes it easy to see the impact of any change.
Review the budget with the site team. Walk them through the calculations. They will know if the surface area is correct. They will know if the overlap rate is realistic. Their input improves the accuracy of the budget.
Frequently asked questions
What is the difference between wet film thickness and dry film thickness?
Wet film thickness is the thickness of the coating while it is still liquid. Dry film thickness is the thickness after the solvent has evaporated and the coating has cured.
How do I find the volume solids percentage?
Check the Technical Data Sheet from the coating supplier. The volume solids is usually listed under "Physical Properties" or "Specification."
Do I need to adjust for surface texture?
Yes. Rough surfaces require more coating than smooth surfaces. Adjust your surface area calculation to account for the texture.
What is a typical overlap rate for spray application?
A typical overlap rate for airless spray is between 10 percent and 20 percent. This ensures uniform coverage.
How often should I verify the wet film thickness?
Verify the wet film thickness during the test panel phase. Then spot check during the application to ensure the spray gun is set correctly. ===END===